Brinkmann Series 4415 User Manual
Browse online or download User Manual for Grills Brinkmann Series 4415. Brinkmann Series 4415 User Manual
- Page / 32
- Table of contents
- BOOKMARKS
- Gas Outdoor Grill 1
- WARNINGS 2
- TABLE OF CONTENTS 3
- GENERAL WARNINGS 4
- INSTALLATION INFORMATION: 5
- CYLINDER SPECIFICATIONS: 6
- FILLING THE LP GAS CYLINDER: 7
- HOSE AND REGULATOR: 7
- REGULATOR RESETTING PROCEDURE 7
- CONNECTING HOSE AND REGULATOR 8
- LEAK TESTING: 9
- WHEN TO PERFORM A LEAK TEST: 9
- CHECKING FOR LEAKS: 9
- PRE-START CHECK LIST: 10
- LIGHTING INSTRUCTIONS: 11
- LIGHTING THE MAIN BURNERS: 11
- CAUTION: 12
- ROTISSERIE COOKING: 14
- THE SIDE BURNER: 14
- GRILL COOKING TIPS 15
- PROPER CARE & MAINTENANCE 15
- BURNER ASSEMBLY/MAINTENANCE 16
- CLEANING AND MAINTENANCE: 16
- Transporting and Storage: 17
- BEFORE STORING YOUR GRILL: 17
- COOKING GRILLS 17
- HEAT DISTRIBUTION PLATES 17
- TROUBLE SHOOTING 18
- FREQUENTLY ASKED QUESTIONS 19
- PARTS BAG CONTENTS 21
- ASSEMBLY INSTRUCTIONS 22
- Locking Caster 24
- Hex Nut Wrench 24
- Grease Cup Bracket 25
- Spring Pin 26
- Door Pivot 26
- Grease Cup 26
- Side Burner Igniter 29
- Electrode 29
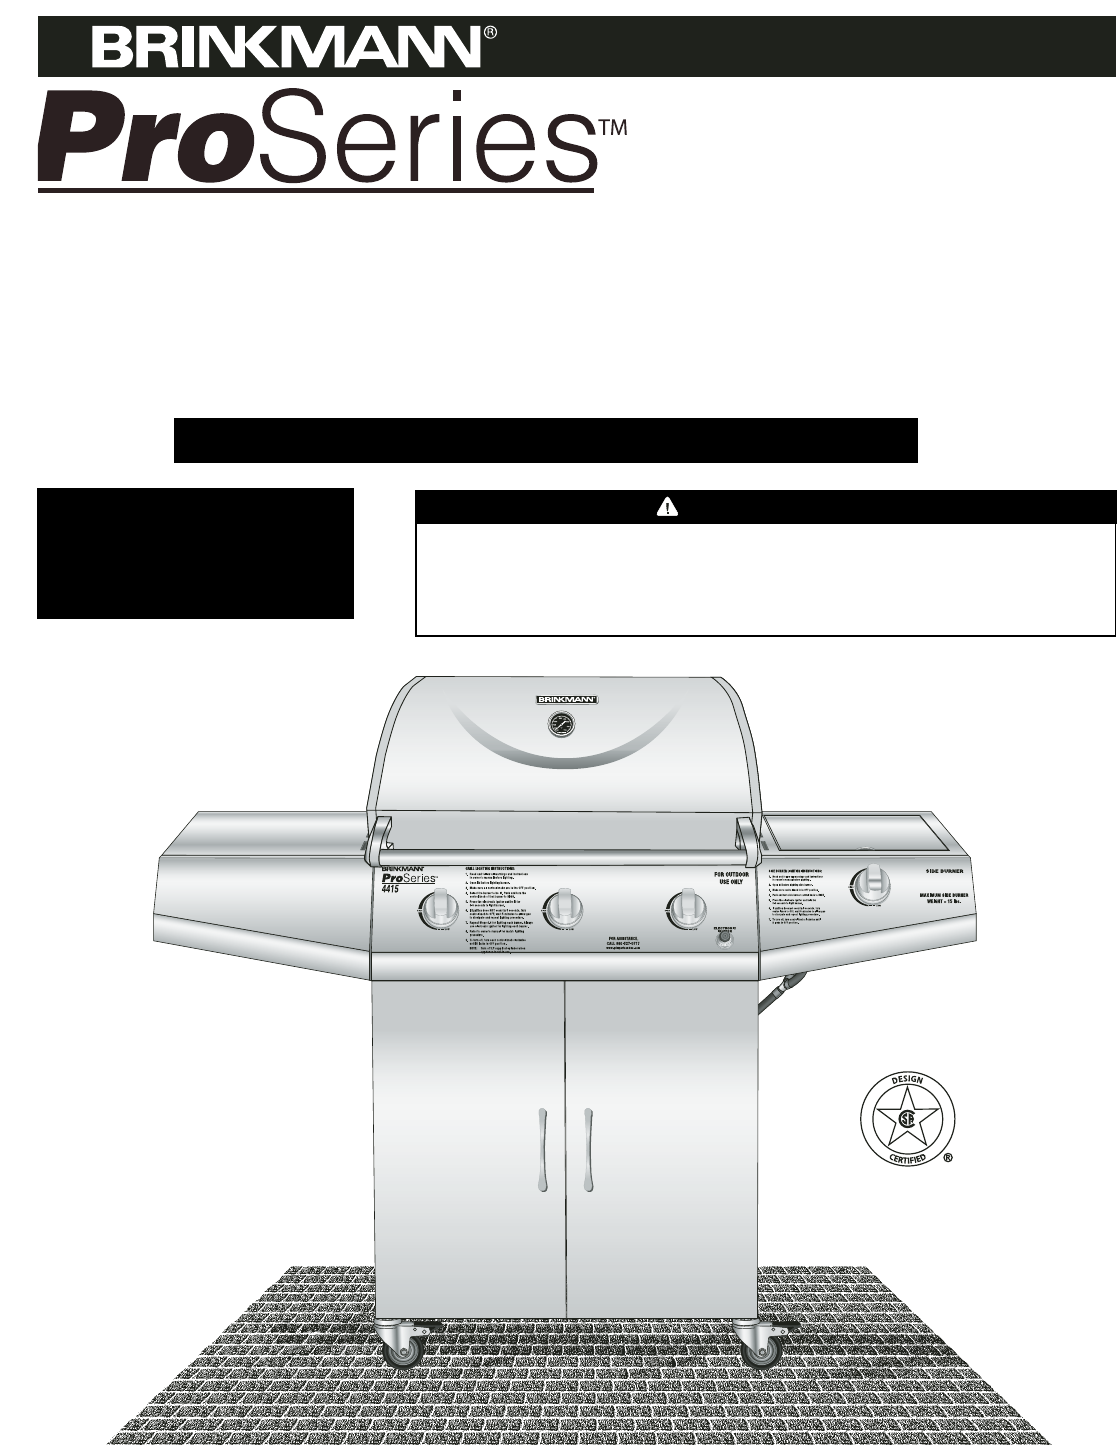
- ProSeries 4415 31
- (Assembled) 31
- WARRANTY 32
Summary of Contents
WARNINGHAZARDOUS EXPLOSION MAY RESULT IF THESE WARNINGS ANDINSTRUCTIONS ARE IGNORED. READ AND FOLLOW ALL WARNINGS ANDINSTRUCTIONS IN THIS MANUAL TO AV
WARNING96. Check each place listed (A– K) for growing bubbles which indicates a leak.7. Turn off gas supply at cylinder valve.8. Turn on control knobs
LIGHTING INSTRUCTIONS:Follow the instructions exactly.1. OPEN THE GRILL LID before attempting to light a burner so that fumes do not accumulate inside
LIGHTING THE SIDE BURNER:1. Open lid before lighting side burner.2. Make sure control knob is in the "OFF" position.3. Push and turn side bu
12OPERATING THE GRILL:Never use charcoal or wood briquets in a gas grill. Flavoring chips must be contained in a metalsmoking box to contain ash and p
ROTISSERIE COOKING:• Your grill was pre-drilled from factory to include mounting holes for a rotisserie (sold separately). Donot use a rotisserie not
14GRILL COOKING TIPSCLEANLINESS• Always wash hands thoroughly with soap and hot water prior to handling food and after handling rawmeat, uncooked poul
15BURNER ASSEMBLY/MAINTENANCE• Although your burners are constructed of cast-iron, they may corrode as a result of the extreme heat andacids from cook
16Transporting and Storage:• Never move a grill when it is hot or when objects are on the cooking surfaces.• Make sure that cylinder valve is shut off
17TROUBLE SHOOTINGProblem: Possible Causes:1. Check LP cylinder fuel level.2. Bad electrode spark.Check to see if the grill will match light.Electrode
18Your grill's serial number and model number, and the contact information for Brinkmann Customer Service, arelisted on a silver label found on t
1WE WANT YOU TO ASSEMBLE AND USE YOUR GRILL AS SAFELY AS POSSIBLE.THE PURPOSE OF THIS SAFETY ALERT SYMBOL IS TO ATTRACT YOURATTENTION TO POSSIBLE HAZA
Cleaning Stainless Steel Cooking Grills: Wash grills with a mild detergent and rinse with hot water beforeinitial use and as needed. DO NOT use a comm
20PARTS BAG CONTENTS1 Screwdriver1 Hex Nut Wrench1 AA/1.5V Alkaline Battery4 M4 X 10mm Bolts14 M6 X 15mm Bolts12 M6 X 50mm Bolts4 M6 Washers4 M4 Washe
21ASSEMBLY INSTRUCTIONSREAD ALL SAFETY WARNINGS & ASSEMBLY INSTRUCTIONS CAREFULLYBEFORE ASSEMBLING OR OPERATING YOUR GRILL.WE RECOMMEND TWO PEOPLE
22(Proof of purchase will be required.)Inspect contents of the box to ensure all parts are included and undamaged.FOR MISSING PARTS, PLEASE CALL CUSTO
Choose a good, cleared assemblyarea and get a friend to help you putyour grill together. Lay cardboarddown to protect grill finish andassembly area.CA
Note: With the help of a friend, turn the cart to its uprightposition. Step 4Attach back cart panel by usingfour M6 X 50mm bolts.Note: Leave bolts han
Spring Pin25Step 7Slide the grease cup into greasecup holder.Step 8Insert right side door pivot into thehole in bottom cart shelf. Then aligndoor with
26Step 10Attach side table front panel to sidetable with two M6 nuts, two M6washers and one M6 x 15mm bolt.Step 11Attach side burner front panel tosid
Step 14Attach side burner to right side ofcart frame assembly. Insert four M6 X 15mm round head boltshalfway into cart frame assembly. Step 15Place si
28Step 17Place the bezel over the valve stemand position over holes in sideburner base and side burner valveassembly. Attach with two bolts withspring
2General Warnings . . . . . . . . . . . . . . . . . . . . . . . . . . . . . . . . . . . . . . . . . . . . . . 3Installation and LP Cylinder Specificat
Step 20Insert grease tray into opening onbackside of grill. Make sure to slidetray onto tracks as illustrated.Step 21Place the heat distribution plate
30ProSeries 4415TM(Assembled)Step 25Attach the loop strap bracket onto thebase panel using two M6 X 12mmbolts.
WARRANTY©2005 The Brinkmann CorporationDallas, Texas 75244 U.S.Awww.brinkmann.net140-4415-310/05, 12/06Owner’s Manual for Model810-4415-3FOR GRILL REP
3WARNING• Never use natural gas in a unit designed for liquid propane gas.• Never use charcoal or wood briquets in a gas grill. Flavoring chips must b
4WARNINGWARNINGLP GAS CYLINDER (NOT SUPPLIED WITH THIS GRILL)The LP cylinder is available for purchase at the same location the grill was purchased.Th
5The cylinder must also be equipped with:• A shut-off valve terminating in a Type 1 gas cylinder valve outlet.• A Type 1 valve that prevents gas flow
FILLING THE LP GAS CYLINDER:• Allow only qualified LP gas dealers to properly fill or repair your LP gas cylinder.• New tanks should be purged prior t
7WARNING• Never use your grill without leak testing all gas connections and hoses. See the section on"Leak Testing" in this manual for prope
LEAK TESTING:To prevent fire or explosion hazard:• DO NOT smoke or permit ignition sources in the area while conducting a leak test.• Perform test OUT
Related products and manuals for Grills Brinkmann Series 4415
 (36 pages)
(32 pages)
(8 pages)
(32 pages)
(36 pages)
(32 pages)
(8 pages)
(28 pages)
(36 pages)
(36 pages)
(32 pages)
(8 pages)
(32 pages)
(36 pages)
(32 pages)
(8 pages)
(28 pages)
 (64 pages)
(32 pages)
(64 pages)
(32 pages)
 (64 pages)
© 2020, manymanuals.com. All rights reserved. | 0.272 s |
 Manymanuals.com
 Manymanuals.de
 Manymanuals.fr
 Manymanuals.it
 Manymanuals.pl
 Manymanuals.cz
 Manymanuals.es
 Manymanuals-pt.com
Comments to this Manuals